
Published on: Oct 19, 2021
Whiteboard image enhancement using OpenCV
Whiteboard images generally contain less contrast and low brightness as they would be captured in mobile under normal room light conditions. Enhancing whiteboard images makes text readable and gives an image with high contrast and brightness.
We will apply different image-processing techniques to enhance whiteboard images using OpenCV in Python. From this whiteboard-cleaner gist that enhances whiteboard images using ImageMagick, we will implement those ImageMagick methods in Python.
In that script, the following ImageMagick functions were used to enhance whiteboard images
1-morphology Convolve DoG:15,100,0 -negate -normalize -blur 0x1 -channel RBG -level 60%,91%,0.1
2
Above command applies image enhancing functions in order
- -morphology Convolve DoG:15, 100, 0: Difference of Gaussian (DoG) with kernel_radius=15, sigma1=100, and sigma2=0
- -negate: Negative of image
- -normalize: Contrast stretch image with black=0.15% and white=0.05%
- -blur 0x1: Gaussian blur with sigma=1
- -level 60%,91%,0.1: Stretch image with black=60% and white=91%, and Gamma correction by gamma=0.1
As I found some difficulty for exactly converting the ImageMagick C code to Python, I have changed the order and parameters that would give close results.
We will apply series of image-processing methods and effects to enhance whiteboard images in the following order
- Difference of Gaussian (DoG)
- Negative effect
- Contrast Stretching
- Gaussian blur
- Gamma correction
- Color balance
You can find the full code in my Github repository whiteboard-image-enhance
Import packages and read image
1import cv2
2import numpy as np
3
4img = cv2.imread('input.jpg')
5
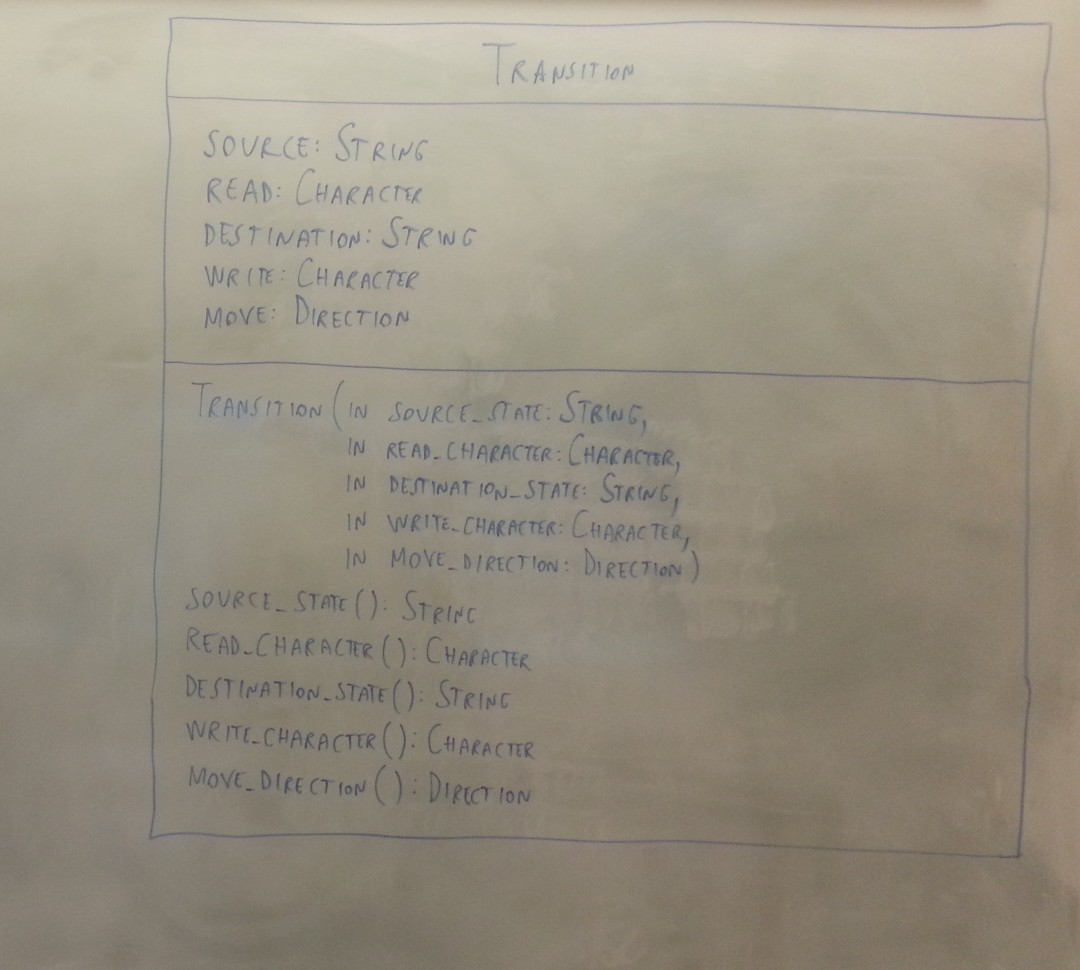 Input Whiteboard image
Difference of Gaussian (DoG)
Difference of Gaussians (DoG) is the difference of two Gaussian kernel convoluted images. DoG image is obtained by subtracting two Gaussian blurred images with different kernel radius and variance.
Normally (DoG of image) is calculated by subtracting and which are convoluted images with two different Gaussian kernels. But ImageMagick applies convolution after subtracting and scaling two gaussian kernels.
So, we will first subtract two different Gaussian kernels, scale and normalize the dog-kernel to the zero-summing kernel (sum of all elements ~ 0.0) and then apply convolution.
1def normalize_kernel(kernel, k_width, k_height, scaling_factor = 1.0):
2    '''Zero-summing normalize kernel'''
3
4    K_EPS = 1.0e-12
5    # positive and negative sum of kernel values
6    pos_range, neg_range = 0, 0
7    for i in range(k_width * k_height):
8        if abs(kernel[i]) < K_EPS:
9            kernel[i] = 0.0
10        if kernel[i] < 0:
11            neg_range += kernel[i]
12        else:
13            pos_range += kernel[i]
14
15    # scaling factor for positive and negative range
16    pos_scale, neg_scale = pos_range, -neg_range
17    if abs(pos_range) >= K_EPS:
18        pos_scale = pos_range
19    else:
20        pos_sacle = 1.0
21    if abs(neg_range) >= K_EPS:
22        neg_scale = 1.0
23    else:
24        neg_scale = -neg_range
25
26    pos_scale = scaling_factor / pos_scale
27    neg_scale = scaling_factor / neg_scale
28
29    # scale kernel values for zero-summing kernel
30    for i in range(k_width * k_height):
31        if (not np.nan == kernel[i]):
32            kernel[i] *= pos_scale if kernel[i] >= 0 else neg_scale
33
34    return kernel
35
36def dog(img, k_size, sigma_1, sigma_2):
37    '''Difference of Gaussian by subtracting kernel 1 and kernel 2'''
38
39    k_width = k_height = k_size
40    x = y = (k_width - 1) // 2
41    kernel = np.zeros(k_width * k_height)
42
43    # first gaussian kernal
44    if sigma_1 > 0:
45        co_1 = 1 / (2 * sigma_1 * sigma_1)
46        co_2 = 1 / (2 * np.pi * sigma_1 * sigma_1)
47        i = 0
48        for v in range(-y, y + 1):
49            for u in range(-x, x + 1):
50                kernel[i] = np.exp(-(u*u + v*v) * co_1) * co_2
51                i += 1
52    # unity kernel
53    else:
54        kernel[x + y * k_width] = 1.0
55
56    # subtract second gaussian from kernel
57    if sigma_2 > 0:
58        co_1 = 1 / (2 * sigma_2 * sigma_2)
59        co_2 = 1 / (2 * np.pi * sigma_2 * sigma_2)
60        i = 0
61        for v in range(-y, y + 1):
62            for u in range(-x, x + 1):
63                kernel[i] -= np.exp(-(u*u + v*v) * co_1) * co_2
64                i += 1
65    # unity kernel
66    else:
67        kernel[x + y * k_width] -= 1.0
68
69    # zero-normalize scling kernel with scaling factor 1.0
70    norm_kernel = normalize_kernel(kernel, k_width, k_height, scaling_factor = 1.0)
71
72    # apply filter with norm_kernel
73    return cv2.filter2D(img, -1, norm_kernel.reshape(k_width, k_height))
74
Get Difference of Gaussian (DoG) for image by calling dog() function with radius = 15, sigma_1 = 100, sigma_2 = 0. Here radius = 15 for both kernels, for first kernel, sigma = 100, and for second kernel, sigma = 0. Kernel with sigma = 0 creates unity kernel means convolution with this kernel gives same image.
1dog_img = dog(img, 15, 100, 0)
2
After applying DoG, the resultant image looks like
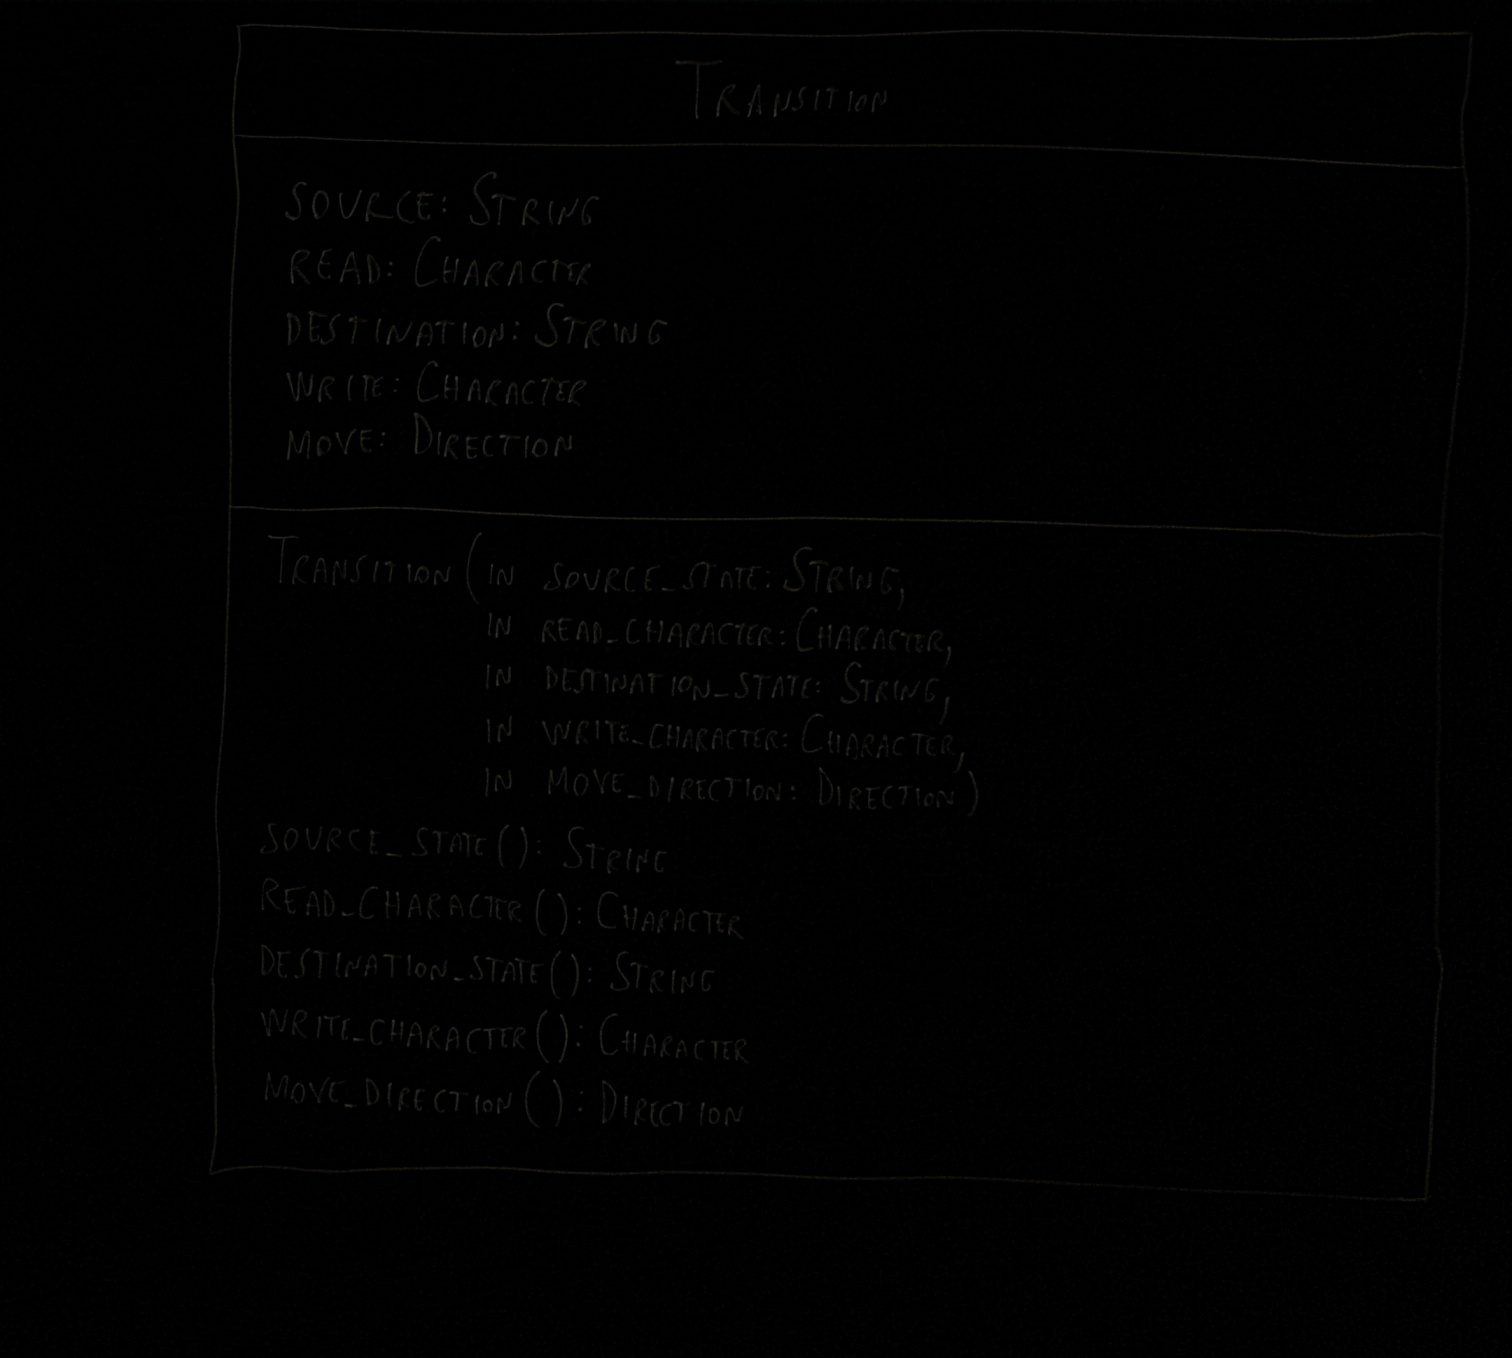 Difference of Gaussian (DoG) image
Negative Image
For , get a negative image which is just an inversion of colors (255 - image).
1def negate(img):
2    '''Negative of image'''
3
4    return cv2.bitwise_not(img)
5
1negative_img = negate(dog_img)
2
The result of the inversion image is
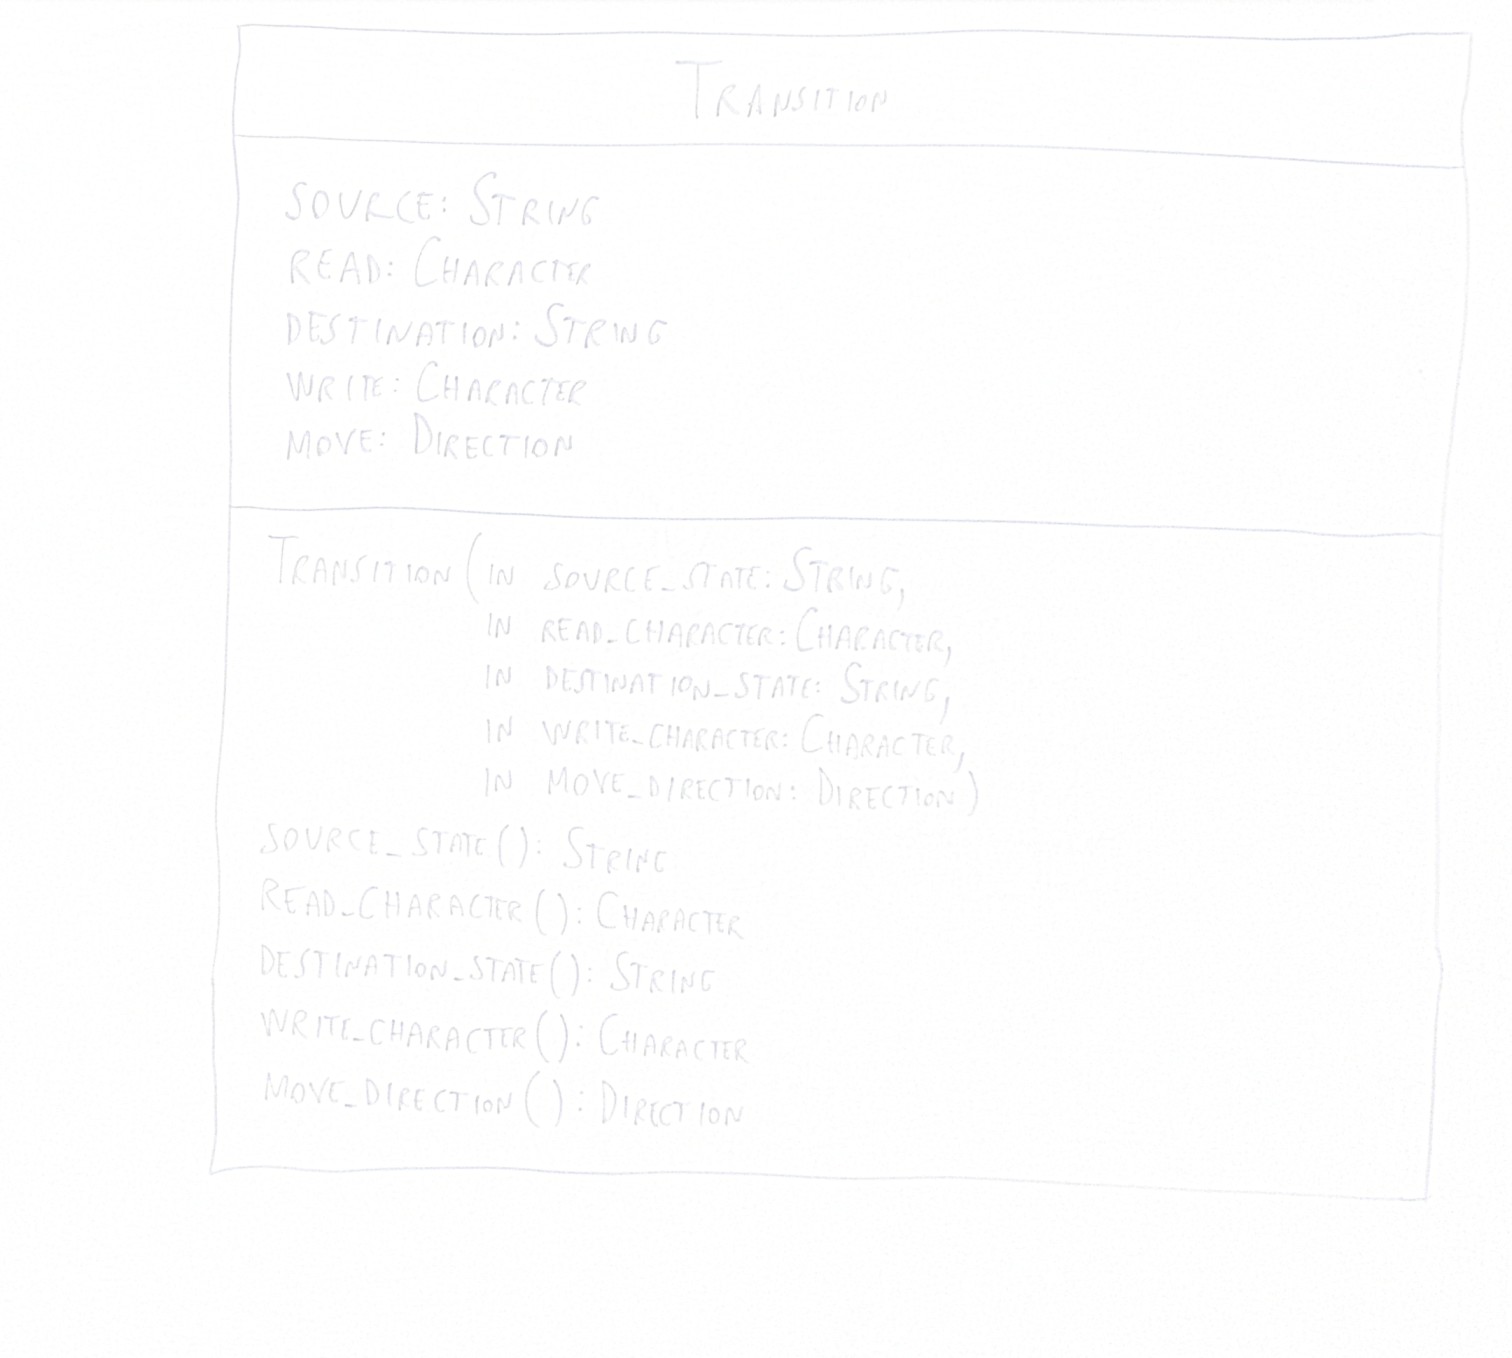 Negative image
Image content is not much visible as we inverted an image whose most of the pixels are black. So, to improve the contrast, we apply contrast-stretch enhancement for the negative image.
Contrast Stretching
Contrast stretching of an image is the same as histogram equalization but we cap some percentage of pixel values to black (0) and white (255).
1def get_black_white_indices(hist, tot_count, black_count, white_count):
2    '''Blacking and Whiting out indices same as color balance'''
3
4    black_ind = 0
5    white_ind = 255
6    co = 0
7    for i in range(len(hist)):
8        co += hist[i]
9        if co > black_count:
10            black_ind = i
11            break
12
13    co = 0
14    for i in range(len(hist) - 1, -1, -1):
15        co += hist[i]
16        if co > (tot_count - white_count):
17            white_ind = i
18            break
19
20    return [black_ind, white_ind]
21
22def contrast_stretch(img, black_point, white_point):
23    '''Contrast stretch image with black and white cap'''
24
25    tot_count = img.shape[0] * img.shape[1]
26    black_count = tot_count * black_point / 100
27    white_count= tot_count * white_point / 100
28    ch_hists = []
29    # calculate histogram for each channel
30    for ch in cv2.split(img):
31        ch_hists.append(cv2.calcHist([ch], [0], None, [256], (0, 256)).flatten().tolist())
32
33    # get black and white percentage indices
34    black_white_indices = []
35    for hist in ch_hists:
36        black_white_indices.append(get_black_white_indices(hist, tot_count, black_count, white_count))
37
38    stretch_map = np.zeros((3, 256), dtype = 'uint8')
39
40    # stretch histogram
41    for curr_ch in range(len(black_white_indices)):
42        black_ind, white_ind = black_white_indices[curr_ch]
43        for i in range(stretch_map.shape[1]):
44            if i < black_ind:
45                stretch_map[curr_ch][i] = 0
46            else:
47                if i > white_ind:
48                    stretch_map[curr_ch][i] = 255
49                else:
50                    if (white_ind - black_ind) > 0:
51                        stretch_map[curr_ch][i] = round((i - black_ind) / (white_ind - black_ind)) * 255
52                    else:
53                        stretch_map[curr_ch][i] = 0
54
55    # stretch image
56    ch_stretch = []
57    for i, ch in enumerate(cv2.split(img)):
58        ch_stretch.append(cv2.LUT(ch, stretch_map[i]))
59
60    return cv2.merge(ch_stretch)
61
For each image channel, calculate cummulative histogram sum, and then cap pixels based on black_point = 2 and white_point = 99.5 percentage.
1contrast_stretch_img = contrast_stretch(negative_img, 2, 99.5)
2
Negative image after contrast stretching is
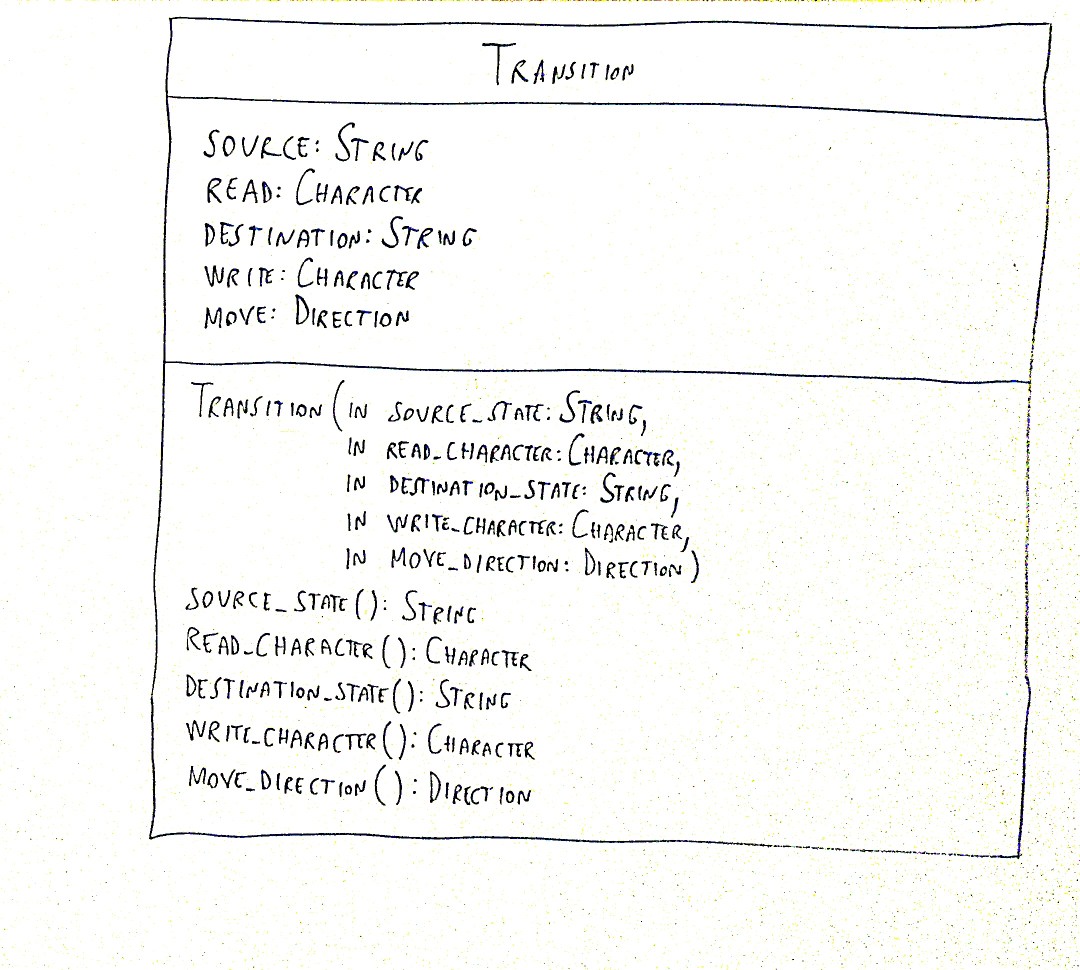 Contrast strech image
Gaussin Blur & Gamma Correction
Contrast stretching image contains noise, so blur the image with Gaussian kernel. As Gaussian distribution kernel can be linearly separable, we apply convolution with the same 1D-kernel along the x-axis and y-axis for performance (negligible for small kernels and low-res images).
1def fast_gaussian_blur(img, ksize, sigma):
2    '''Gussian blur using linear separable property of Gaussian distribution'''
3
4    kernel_1d = cv2.getGaussianKernel(ksize, sigma)
5    return cv2.sepFilter2D(img, -1, kernel_1d, kernel_1d)
6
7def gamma(img, gamma_value):
8    '''Gamma correction of image'''
9
10    i_gamma = 1 / gamma_value
11    lut = np.array([((i / 255) ** i_gamma) * 255 for i in np.arange(0, 256)], dtype = 'uint8')
12    return cv2.LUT(img, lut)
13
Apply Gaussian blur with kernel_size = 3 and sigma = 1.
1blur_img = fast_gaussian_blur(contrast_stretch_img, 3, 1)
2
Blurred image after noise suppression is
 Blurred image
Now apply Gamma correction to enhance the blurred image with gamma_value = 1.1.
1gamma_img = gamma(blur_img, 1.1)
2
Blurred image Gamma corrected looks like
 Gamma corrected image
Color Balance
Color balance of an image is same as contrast-stretching method above but they are different in implementation. Above contrast-stretching is an implementation based on ImageMagick-ContrastStretchImage(), and color balance is based on Simplest Color Balance.
1def color_balance(img, low_per, high_per):
2    '''Contrast stretch image by histogram equilization with black and white cap'''
3
4    tot_pix = img.shape[1] * img.shape[0]
5    # no.of pixels to black-out and white-out
6    low_count = tot_pix * low_per / 100
7    high_count = tot_pix * (100 - high_per) / 100
8
9    cs_img = []
10    # for each channel, apply contrast-stretch
11    for ch in cv2.split(img):
12        # cummulative histogram sum of channel
13        cum_hist_sum = np.cumsum(cv2.calcHist([ch], [0], None, [256], (0, 256)))
14
15        # find indices for blacking and whiting out pixels
16        li, hi = np.searchsorted(cum_hist_sum, (low_count, high_count))
17        if (li == hi):
18            cs_img.append(ch)
19            continue
20        # lut with min-max normalization for [0-255] bins
21        lut = np.array([0 if i < li
22                        else (255 if i > hi else round((i - li) / (hi - li) * 255))
23                        for i in np.arange(0, 256)], dtype = 'uint8')
24        # constrast-stretch channel
25        cs_ch = cv2.LUT(ch, lut)
26        cs_img.append(cs_ch)
27
28    return cv2.merge(cs_img)
29
Enhance image by passing Gamma corrected image to color_balance() with parameters low_per = 2 and high_per = 1.
1color_balanced_img = color_balance(gamma_img, 2, 1)
2
The final enhanced whiteboard image is
 Whiteboard image enhanced
You can find out full code at my Github repository file whiteboard_image_enhance.py
Results


