
Published on: Dec 31, 2020
Build Blog with Next.js & MDX and Deploy to Github Pages
In this post, we will discuss how to create and publish a blog with Next.js, write content with MDX, deploy static site to Github Pages, Image optimization to reduce the page load time and SEO for better page ranking.
Pre-requisites: Basic understanding of React and Markdown.
Building a blog with Next.js is very easy and it is simple to understand, develop, and maintain the dynamic websites and credit goes to Next.js dynamic paging which lets the creation of dynamic URLs and routing. When I decided to start my blog then I searched and read about many frameworks like Vanilla React, Gatsby, Hugo, etc., After reading many blogs, comments, and reviews I felt Next.js would be the option I was looking for.
Next.js offers everything need to create a blog:
- Static site export support
- Dynamic routing
- MDX (markdown with JSX) support
- Image optimization
- SEO
Now dive in to create a simple blog
Setup Next.js and MDX
Next.js is a React framework to create SPA (single page applications) and enables both static websites and server-side rendering. Here we'll focus only on static website generation.
Install Next.js
Install Next.js by typing any of the following commands
1npx create-next-app
2# or
3yarn create next-app
4
create-next-app installs everything needed to start with.
The most important thing in Next.js is the pages directory. Every component exported from .js, .jsx, .ts, or .tsx in the pages folder is treated as a page and each page associates with a route based on its file name. In the pages folder, the App component from _app.js serves as the initialization of pages that can be edited for custom use like global style declaration, CDN's, etc., index.js is the starting point for adding content.
To write content in articles we use MDX, which lets us write JSX in Markdown (.mdx file). Writing in markdown is as beautiful as it is like writing in a text file and can render as HTML tags. Besides easy export and maintenance of articles, we can also reuse these files in another framework/platform which supports MDX without rewriting.
Install MDX
Install necessary plugins for MDX
1yarn add @next/mdx gray-matter next-mdx-remote
2
We installed @next/mdx to handle .mdx files in pages directory, gray-matter is to parse content from markdown and next-mdx-remote for rendering markdown as HTML.
Now create / open next.config.js (configuration file for Next.js) at the project root level and add the following to configure MDX and handle .mdx page extensions in the pages folder.
1const withMDX = require("@next/mdx")({
2  extension: /\.mdx?$/,
3});
4module.exports = withMDX({
5  pageExtensions: ["js", "jsx", "mdx"],
6  target: "serverless",
7});
8
As Next.js only looks for .js or .jsx files and gives routing to these pages, the above configuration tells Next.js to treat .md or .mdx files as pages and provide routing.
As we are creating a static site, target: 'serverless' notifies Next.js to generate static files for us.
Open package.json file in the root directory and add deploy command to export all static files as a folder as out (can have a different name) at the root level. After installing plugins and adding values package.json might look like this
1{
2  "name": "blog",
3  "version": "0.1.0",
4  "private": true,
5  "scripts": {
6    "dev": "next dev",
7    "build": "next build",
8    "start": "next start",
9    "export": "next export",
10    "deploy": "npm run build && npm run export"
11  },
12  "dependencies": {
13    ---
14  }
15}
16
17
Let's give some break to configuration and take a turn to add some content.
Home Page
As said earlier index.js is the pivot file and also the Home page for our website. So let's edit our Home page and customize it like below.
pages/index.js
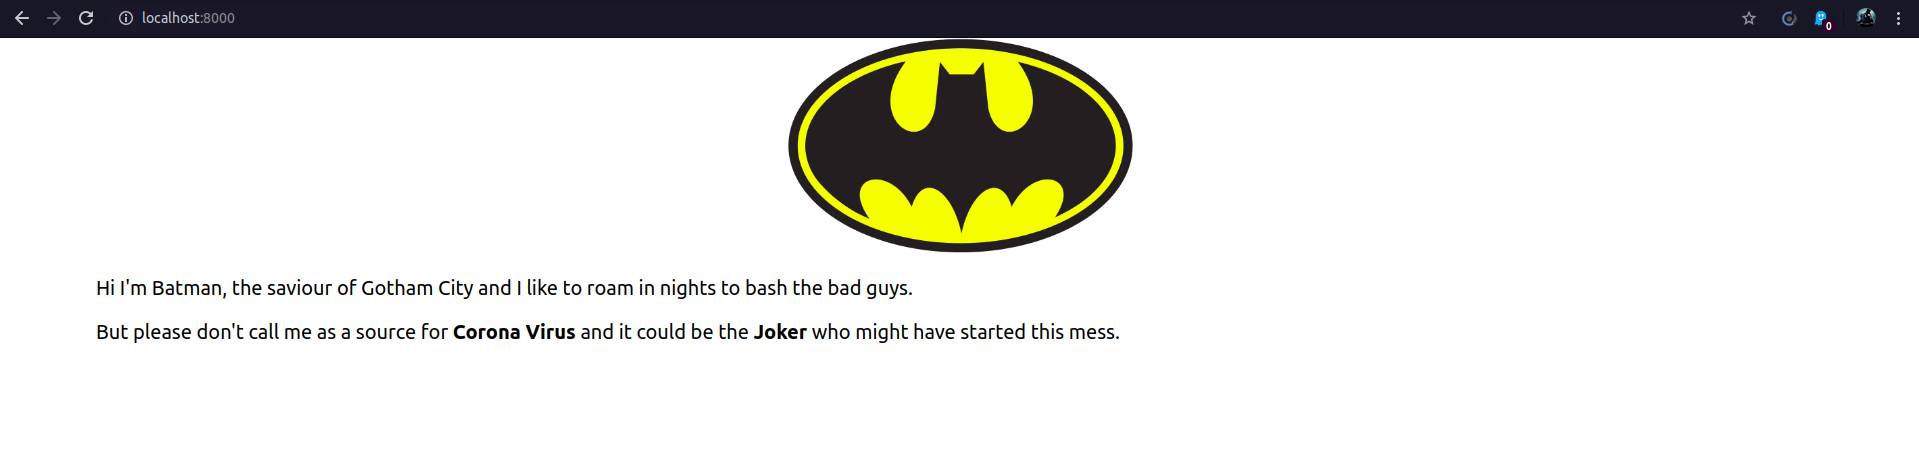
1export default function Home() { 2 return ( 3 <div className = 'info-container'> 4 <img src = 'batman.png' alt = 'Batman Logo'/> 5 <p className = 'info-description'>Hi I'm Batman, the saviour of Gotham City and I like to roam in nights to bash the bad guys.</p> 6 <p className = 'info-description'>But please don't call me as a source for <b>Corona Virus</b> and it could be the <b>Joker</b> who 7 might have started this mess.</p> 8 9 <style jsx>{` 10 .info-container { 11 margin: 0 5% 0 5%; 12 } 13 14 img { 15 width: 20%; 16 max-width: 20%; 17 height: auto; 18 margin-left: 40%; 19 } 20 21 .info-description { 22 font-size: 20px; 23 } 24 `}</style> 25 </div> 26 ) 27} 28
In the above snippet, CSS styles are provided inside the component. This is called CSS-In-JS, which is possible as Next.js bundles styled-jsx. There are many ways to add CSS in Next.js.
In the img tag above, src is provided with the name of the image only but not relative/absolute path. In Next.js we don't need to provide complete paths if we place any assets (like images, videos) in the public folder. Next.js automatically prepends the path at build time for assets in the public folder.
Now to see changes, start localhost (default port is 3000) as a dev server
1# starts localhost at port 8000
2yarn dev -p 8000
3
Open any desktop browser and type URL http://localhost:port/ to see changes. For the above code, the display is like below
We have a home page with a welcome message. Now some create blog posts with MDX.
Write Blog Content with MDX
Create a directory to store our markdown posts at the root level or any accessible place.
1mkdir posts
2
Write some content in a markdown file and save it as '.mdx' inside the posts directory. I have created two posts and saved them as batman-vs-superman.mdx and justice-league.mdx.
posts/batman-vs-superman.mdx
1--- 2title: "Batman VS Superman" 3description: "An intense fight between two superheroes, me and Superman." 4date: "Mar 25, 2016" 5--- 6 7# Batman VS Superman 8 9I and Superman accidentally met (fight) and later realized there was a culprit (Lex Luthor) who we should fight. 10 11As usual, it cost a whopping $250 million for this high-action story. 12
posts/justice-league.mdx
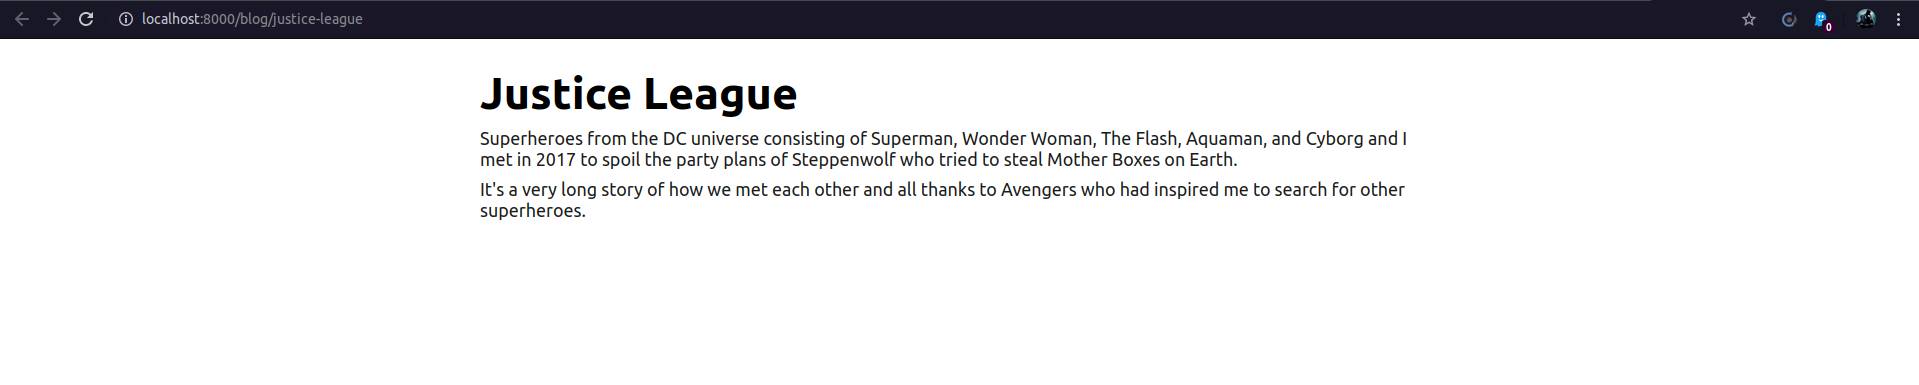
1--- 2title: "Justice League" 3description: "Grand union with fellow superheroes which costs $300 million but received face slap from the audience." 4date: "Nov 17, 2017" 5--- 6 7# Justice League 8 9Superheroes from the DC universe consisting of Superman, Wonder Woman, The Flash, Aquaman, and Cyborg and I met in 2017 to spoil the party plans of Steppenwolf who tried to steal Mother Boxes on Earth. 10 11It's a very long story of how we met each other and all thanks to Avengers who had inspired me to search for other superheroes. 12
In the above snippet content inside --- is used as metadata to make routing for this .mdx file. We'll discuss this later.
Show blog posts on the Home page
Fetch posts data
To show our blog posts on the Home page, we have to fetch the .mdx files and parse content. We can also provide routing from the home page to any blog post. We write the logic to fetch the .mdx files to read the content inside and extract metadata useful to display posts on the Home page. These files should be separated from routing, so at the root level create a folder called lib where we store all program files to extract .mdx content. Inside lib create a file with name getPostsData.js which returns posts data like markdown content, title, path, etc.,
lib/getPostsData.js
1const fs = require('fs'); 2const path = require('path'); 3const matter = require("gray-matter"); 4 5// current 'posts' directory 6const postsDirectory = path.join(process.cwd(), 'posts'); 7const mdx_file_extention = '.mdx'; 8 9function getAllFilesInDirectory() { 10 const fileNames = fs.readdirSync(postsDirectory); 11 return fileNames.map((fileName) => { 12 return path.parse(fileName) 13 }) 14} 15 16function getMdxFiles() { 17 const allFiles = getAllFilesInDirectory(); 18 return allFiles.filter(parsedFile => parsedFile.ext == mdx_file_extention); 19} 20 21export function getAllPostsPath() { 22 const allMdxFiles = getMdxFiles(); 23 return allMdxFiles.map((parsedFile) => { 24 return { 25 params: { 26 id: parsedFile.name 27 } 28 } 29 }) 30} 31 32export function getPostsMetaData() { 33 const allMdxFiles = getMdxFiles(); 34 35 const postsMetaData = allMdxFiles.map((parsedFile) => { 36 const fullPath = path.join(postsDirectory, parsedFile.base); 37 38 // get MDX metadata and content 39 const fileContents = fs.readFileSync(fullPath, 'utf8'); 40 // get metadata, content 41 const { data, content } = matter(fileContents); 42 let metadata = data; 43 metadata['id'] = parsedFile.name; 44 return metadata; 45 }); 46 return postsMetaData; 47} 48 49export function getPostData(id) { 50 const fullPath = path.join(postsDirectory, id + mdx_file_extention); 51 52 // get MDX metadata and content 53 const fileContents = fs.readFileSync(fullPath, 'utf8'); 54 // get metadata, content 55 const { data, content } = matter(fileContents); 56 57 let metadata = data; 58 metadata['id'] = id; 59 60 return {'metadata': metadata, 'content': content}; 61} 62
getAllPostsPath function returns all .mdx files path names to serve as URLs for dynamic routing of a page.
getPostsMetaData function returns all .mdx files metadata (data inside ---) which we use to gather information like title, description, etc., and function getPostsData returns both metadata and markdown content to render for a particular file we request through argument id. gray-matter parses the markdown file into metadata (data inside ---) and markdown content to render.
If encountered error while accessing fs add the following to next.config.js
next.config.js
1const withMDX = require('@next/mdx')({ 2 extension: /\.mdx?$/, 3}) 4 5module.exports = withMDX({ 6 webpack: (config, { isServer }) => { 7 if (!isServer) { 8 config.node = { 9 fs: 'empty' 10 } 11 } 12 return config 13 }, 14 pageExtensions: ['js', 'jsx', 'mdx'], 15 target: 'serverless', 16}) 17
Provide posts data to Home page
We have to call the getallPostsData function to get data. But how can we pass this data to the component in pages/index.js? Don't worry we can pass data as props to the component before rendering using the getStaticProps function. getStaticProps allows us to fetch any dynamic data to provide before rendering the component. Change pages/index.js as
pages/index.js
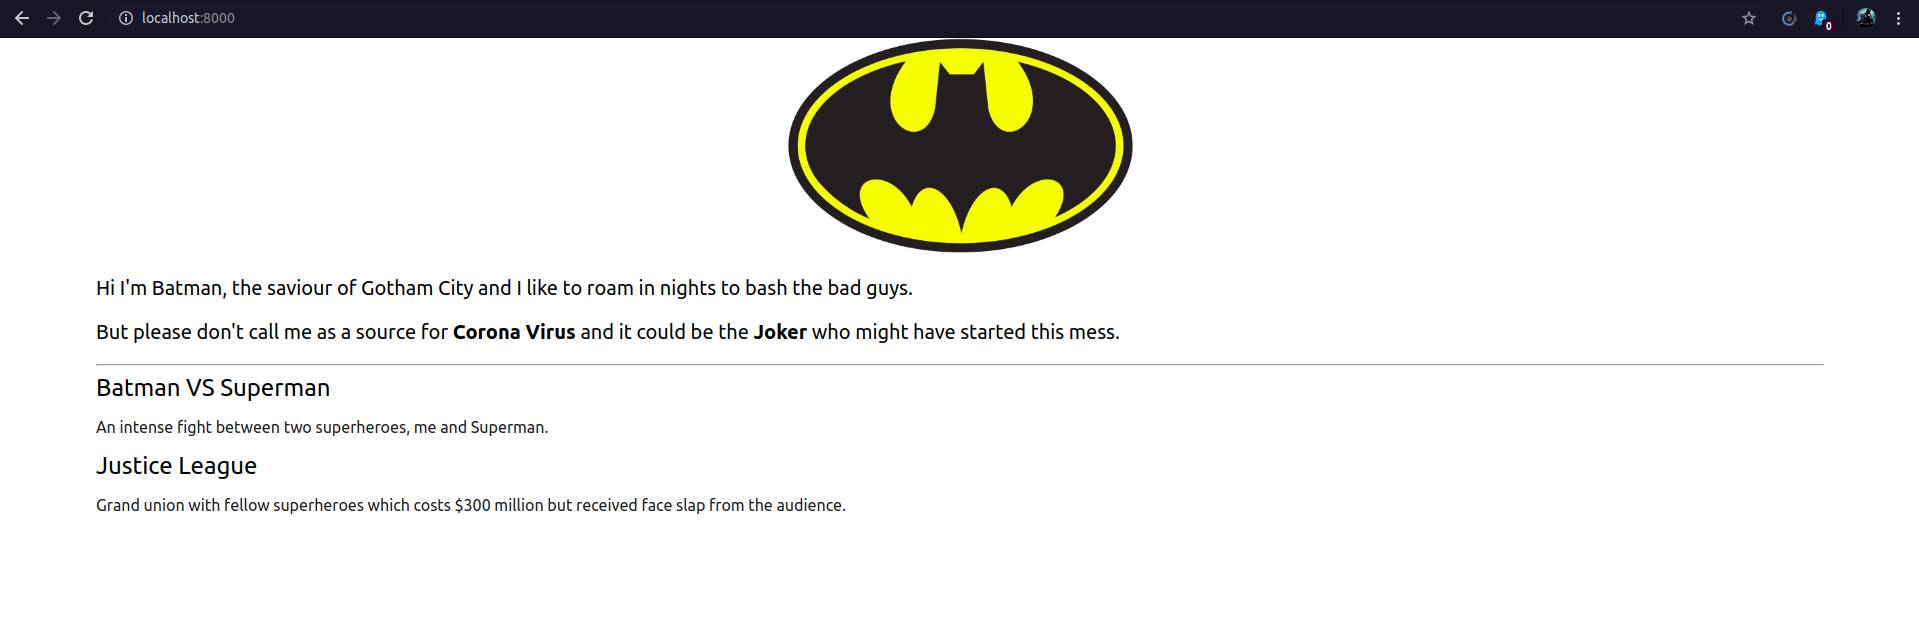
1import { getPostsMetaData } from '../lib/getPostsData.js'; 2 3export default function Home({ postsData }) { 4 return ( 5 <div className = 'info-container'> 6 <img src = 'batman.png' alt = 'Batman Logo'/> 7 <p className = 'info-description'>Hi I'm Batman, the saviour of Gotham City and I like to roam in nights to bash the bad guys.</p> 8 <p className = 'info-description'>But please don't call me as a source for <b>Corona Virus</b> and it could be the <b>Joker</b> who 9 might have started this mess.</p> 10 <hr/> 11 {postsData.map((metadata) => { 12 return ( 13 <div key = {metadata.id}> 14 <h2 className = 'post-title'>{metadata.title}</h2> 15 <p className = 'post-description'>{metadata.description}</p> 16 </div> 17 ) 18 })} 19 20 <style jsx>{` 21 .info-container { 22 margin: 0 5% 0 5%; 23 } 24 25 img { 26 width: 20%; 27 max-width: 20%; 28 height: auto; 29 margin-left: 40%; 30 } 31 32 .info-description { 33 font-size: 20px; 34 } 35 36 .post-title { 37 font-size: 24px; 38 color: black; 39 } 40 41 .post-description { 42 font-size: 16px; 43 color: #000000e6; 44 } 45 `}</style> 46 </div> 47 ) 48} 49 50export async function getStaticProps() { 51 const postsData = getPostsMetaData(); 52 return { 53 props: { 54 postsData: postsData, 55 } 56 } 57} 58
Which displays as
Rendering MDX and providing dynamic routing
So far so good until we want to display .mdx files as individual webpages. Right now it is not possible because Next.js only treats components exported inside the pages folder as webpages and provides routing, to provide routing for our posts we must export content from the posts directory to the pages folder. This is where we should spend some time to serve markdown files as webpages.
The beauty of Next.js is that we can dynamically serve pages by fetching these .mdx files and provide routing inside the pages directory with having dynamic pages.
Create blog folder inside the pages folder and inside this blog folder create a file with name [id].js. Dynamic routes in Next.js are identified by [] (square brackets) in the filename. We can provide any query parameter to this [] page component which will end up as http://localhost:8000/blog/post-name for post-name.js. Now add following code to pages/blog/[id].js
pages/blog/[id].js
1import { serialize } from 'next-mdx-remote/serialize'; 2import { MDXRemote } from 'next-mdx-remote'; 3import { getAllPostsPath, getPostData } from '../../lib/getPostsData.js'; 4 5const components = { 6 h1: props => <h1 style = {{ 7 fontSize: 'calc(1rem + 1.5vw)', 8 color: 'black', 9 margin: '1vh 0 1vh 0', }} 10 {...props} />, 11 12 p: props => <p style = {{ 13 fontSize: 'calc(1rem + 0.1vw)', 14 color: '#000000e6', 15 margin: '0vh 0 1vh 0' }} 16 {...props} />, 17} 18 19export default function Blog({ postMetadata, postContent }) { 20 21 return ( 22 <div> 23 <div className = 'blog-content'> 24 <MDXRemote {...postContent} components = {components} /> 25 </div> 26 27 <style jsx>{` 28 .blog-content { 29 display: flex; 30 flex: 100%; 31 flex-direction: column; 32 margin: 1vw 25vw 1vw 25vw; 33 width: 50vw; 34 max-width: 50vw; 35 } 36 `}</style> 37 38 </div> 39 ) 40} 41 42export async function getStaticPaths() { 43 const paths = getAllPostsPath(); 44 return { 45 paths, 46 fallback: false, 47 } 48} 49 50export async function getStaticProps({ params }) { 51 const postData = await getPostData(params.id); 52 const mdxSource = await serialize(postData.content); 53 return { 54 props: { 55 postMetadata: postData.metadata, 56 postContent: mdxSource, 57 id: params.id, 58 } 59 } 60} 61
If any page provides dynamic routing we must provide all dynamic paths we want to serve to this page through the getStaticPaths function.
With serialize and MDXRemote, we parse markdown content to HTML string and render it as plain HTML. To style the HTML tags in markdown, we pass custom tags as components to the MDX loader which maps tags automatically. In the above file two tags, h1 and p are customized and combined as components.
Now, in the browser, hit URL http://localhost:3000/blog/batman-vs-superman or http://localhost:3000/blog/justice-league to see the post. You might see output similar to below
Navigation from the Home page
What if we want to navigate from the Home page to blog posts by clicking on the title of the post? For this Next.js provides a next/link component that takes care of dynamic routing from any page to another by pre-pending the necessary path before the page to navigate like navigation to batman-vs-superman results as http://localhost:3000/blog/batman-vs-superman. We must navigate like this only if we are not pre-pending the base URL manually inside the website. Now change pages/index.js to get dynamic navigation
1import Link from 'next/link';
2{ ... }
3
4{postsData.map((metadata) => {
5  return (
6    <div key = {metadata.id}>
7      <Link href={`/blog/${metadata.id}`} key = {metadata.title} >
8        <a className = 'post-title'>{metadata.title}</a>
9      </Link>
10      <p className = 'post-description'>{metadata.description}</p>
11    </div>
12    )
13  })}
14
15 { ... }
16
Image Optimization
Images take a lot of space in a webpage which reduces page loading time results in poor performance if the user has a poor internet connection. Images can be optimized many ways like converting all PNG/JPEG files to Webp/JPEG2000 format, responsive images for different screen dimensions by rescaling images, lazy loading, etc.,
Next.js provides next/image API for image optimization. But it needs the next start that runs on the node server which is not possible for static site generation. So we will use another plugin next-optimized-images which provides many options to optimize images.
Here we will optimize images to serve in Webp format, to do so install next-optimized-images
1npm install next-optimized-images
2
Besides this install some additional plugins to convert PNG/JPEG to Webp format and loading Webp images.
1npm install imagemin-mozjpeg imagemin-optipng webp-loader
2
and change next.config.js as
next.config.js
1const withNextOptimizedImages = require('next-optimized-images'); 2 3const withMDX = require('@next/mdx')({ 4 extension: /\.mdx?$/, 5}) 6 7module.exports = withNextOptimizedImages( 8 withMDX({ 9 webpack: (config, { isServer }) => { 10 if (!isServer) { 11 config.node = { 12 fs: 'empty' 13 } 14 } 15 return config 16 }, 17 pageExtensions: ['js', 'jsx', 'mdx'], 18 target: 'serverless', 19 }) 20) 21
In build time next-optimized-images exports optimized images to images (custom name) folder inside out/_next/static. So create images directory at the root level and move images to this folder which needs optimization and provide relative paths now which were previously not required because of the public folder.
Change the img tag in pages/index.js to
1<picture>
2  <source srcSet={require("../images/batman.png?webp")} type="image/webp" />
3  <source srcSet={require("../images/batman.png")} type="image/png" />
4  <img src={require("../images/batman.png")} alt="Batman Logo" />
5</picture>
6
This will convert a PNG image to Webp format and loads Webp images. If the browser doesn't support Webp images <picture> will automatically load the normal PNG image.
You can more than this by exploring more about this plugin.
SEO in Next.js
For Single Application Websites (SPA) SEO is a major problem which Next.js takes care of this by providing API next/head which behaves exactly like <head> in HTML. We can wrap meta properties, title, description, Open Graph (OG) properties, Twitter cards, etc., inside the Head component. For our Home page we can set title and description as

If you don't want to set meta properties, title, description, and others there are so many plugins like next-seo available which handle all of these manual adding for you.
Deploy to Github pages
Export static files to deploy
Now our website is ready to move from development to production. To host our site we can use the static-site-generator of Next.js to generate all pre-render pages bundled inside the out directory. Build and generate out directory by typing the below command in the terminal
1yarn deploy
2
You can find a new directory out at the root level which contains all dynamic pages pre-rendered and ready to serve as HTML pages on the client-side. We will use this folder to host our website on Github pages.
Set up Github Pages
Github Pages is a very great place to host static sites. But we need to push and configure deployment changes every time we add content to the website. This is where we utilize Github Actions which automates deployment actions according to the configuration file we provide. But first, create a repository in Github to store our code files and push source code to this repository on the main branch. We use the gh-pages branch to which Github Actions deploy static files for hosting.
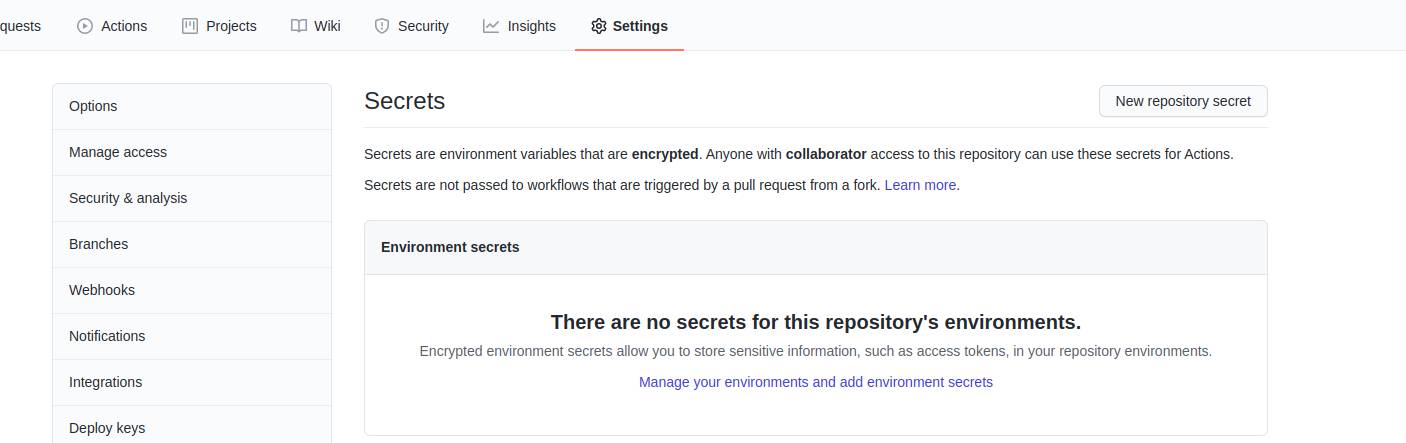
To do this we must provide access for Github Actions to this repository to access source files. To provide access, go to Github Settings -> tokens and create a new personal access token by checking repo scopes and others if you need and save as GITHUB_TOKEN (or any other name). Copy this access code and in the repository, move to the secretes tab in the Settings section and create a new secrete and copy this code. Remember the name of the secrete token you created in this repo for future purposes.
It's time to configure GitHub Actions. Create a directory called .github/workflows at the root level locally. Create a file integrate.yml inside .github/workflows and add the following configuration
.github/workflows/integrate.yml
1name: Build and Deploy 2on: 3 push: 4 branches: 5 - master 6jobs: 7 build-and-deploy: 8 runs-on: ubuntu-latest 9 10 steps: 11 - name: Checkout 12 uses: actions/checkout@v2.3.1 13 with: 14 persist-credentials: false 15 16 - name: Cache 17 uses: actions/cache@v2 18 with: 19 path: ${{ github.workspace }}/.next/cache 20 key: ${{ runner.os }}-nextjs-${{ hashFiles('**/package-lock.json') }} 21 22 - name: Install and Build 23 uses: actions/setup-node@v1 24 - run: npm install 25 - run: npm run build 26 - run: npm run export 27 env: 28 CI: true 29 - run: touch out/.nojekyll 30 31 - name: Deploy 32 uses: JamesIves/github-pages-deploy-action@3.7.1 33 with: 34 ACCESS_TOKEN: ${{ secrets.ACCESS_TOKEN }} 35 BRANCH: gh-pages 36 FOLDER: out 37 CLEAN: true 38
You may have to replace ACCESS_TOKEN with your custom name. This is what we configured
- Execute workflow action on every push to the master branch.
- Run commands npm install && npm run build && npm run export to build and export static version of our website.
- Deploy contents inside out folder to the gh-pages branch.
- Added touch out/.nojekyll to gh-pages because Github pages Jekyll to render static sites. Jekyll ignores files in the directory starting with _ and it is an issue for us because all our static assets are created in _next folder. .nojekyll tells Github Pages not to run published files through Jekyll.
Push all changes to Github repo
1git add .
2git commit -m "initial deployment of the blog"
3git push -u origin master
4
This will push all your working source files to the Github repo and Github Actions starts a workflow to deploy static files in the out folder to gh-pages.
You can monitor the status of the Github Actions workflow after every push to the master branch in the Actions tab.
Enable Github Pages in the Settings section of the repo and for source select the gh-pages branch.
If everything worked properly you can have your website hosted at https://<username>.github.io/<repo>. Here <repo> name is blog.
Manage CSS, assets, and page links to work properly
If you host the website at https://<username>.github.io/<repo> you can observe CSS or other static assets and routing not working properly. This is because Next.js assumes out directory hosted at root level as https://<username>.github.io/ and directs all routing, replaces assets and everything to this basepath. But we have hosted the out folder in blog/out, so we must add subpath blog to the basepath to manage assets linking and routing. We can do this by changing the configuration in next.config.js
next.config.js
1const ghPages = process.env.DEPLOY_TARGET === 'gh-pages'; 2 3const withNextOptimizedImages = require('next-optimized-images'); 4 5const withMDX = require('@next/mdx')({ 6 extension: /\.mdx?$/, 7}) 8 9module.exports = withNextOptimizedImages( 10 withMDX({ 11 webpack: (config, { isServer }) => { 12 if (!isServer) { 13 config.node = { 14 fs: 'empty' 15 } 16 } 17 return config 18 }, 19 pageExtensions: ['js', 'jsx', 'mdx'], 20 target: 'serverless', 21 basePath: ghPages? '/blog/' : '', 22 assetPrefix: ghPages ? '/blog/' : '', 23 }) 24) 25
While developing it works fine everything, so we check the environment phase we are processing with process.env and process.env.DEPLOY_TARGET tells the current hosted environment. In local development, we run on the node server hosted on our machine so we don't need to manage any basepath or subpath.
basePath specifies the base path of the application to manage linking pages. If we are on the gh-pages, the base path /blog/ resolves to username.github.io/blog/ where / is the home path.
assetPrefix specifies where to look for assets (CSS, Images, etc.,).
And here we are with our personal blog on the internet and we can take our blog to next level by adding fancy CSS, custom components, and other pages like about, contact... I hope you find this articl useful to build your own blog. To check the source code of this website, you can find it at github.com/santhalakshminarayana/santhalakshminarayana.github.io.